
Updated:
This post may contain affiliate links that, at no additional cost to you, allow us at CTRLPew to earn a small commission.
While I highly recommend going through each part of the guide, I decided to put together a shorter guide to start 3d printing, for your convenience. This quickstart guide covers the minimum of equipment to get started.
Welcome to my little guide on how to start 3D printing quickly. In the last decade 3D printing has come a long way from the RepRap machines that had to be built yourself, to the most modern of Babmu Automagical Printamajiggers. In this guide we will cover all the basic items and steps you need to begin your 3D printing journey.
But first a few notes.
Legality – Is it legal? Yes. Caveats: Federally speaking, if you can go to a gun store and buy it, you can also make it (for personal use and not for sale or distribution). Your state laws will vary, do the appropriate research. NFA Items (short-barreled rifles, short-barreled shotguns, suppressors, and destructive devices should have an approved ATF Form 1 before manufacture.
Safety – This generally comes down to where you got your files from and how much you trust the developer. The releases I cover on this site are from The Gatalog, which is a collective with an immensely thorough community beta process and a history of releasing well-documented build packages. This means you are far less likely to do anything in error or unsafe as long as you can read.
Types – Most print projects fall into a category of “Frame or Reciever”. This means that the serialized part (per US regulation) is 3d printable, but the remainder of the parts must be purchased and are not intended to be DIY’d by any individual. These are referred to in the printing community as Printable Frames. The other type of project is a fully printed project, akin to the FGC-9. They are intended to be fully DIY’d using an assortment of tools. These are classified into either Hybrid or Primarily Printed by the community.
Recommend me some printers, Pew.
There are many types and models of 3D printers to choose from on the market today and most will do just fine assuming you have a 235×235 minimum print bed area. This is the most common size of print bed and it’s what most of our developers take into account when they are designing models. We at CTRLPew and others across the internet have spent thousands of hours researching and testing 3D printers and these are the standouts from the crowd.
Under $300
All of the previous units have been replaced by these cubic format printers. Its a massive improvement over the previous generation of “bed sligner” printers. The less mass you have to move around while printing the faster and more accurately you can print.
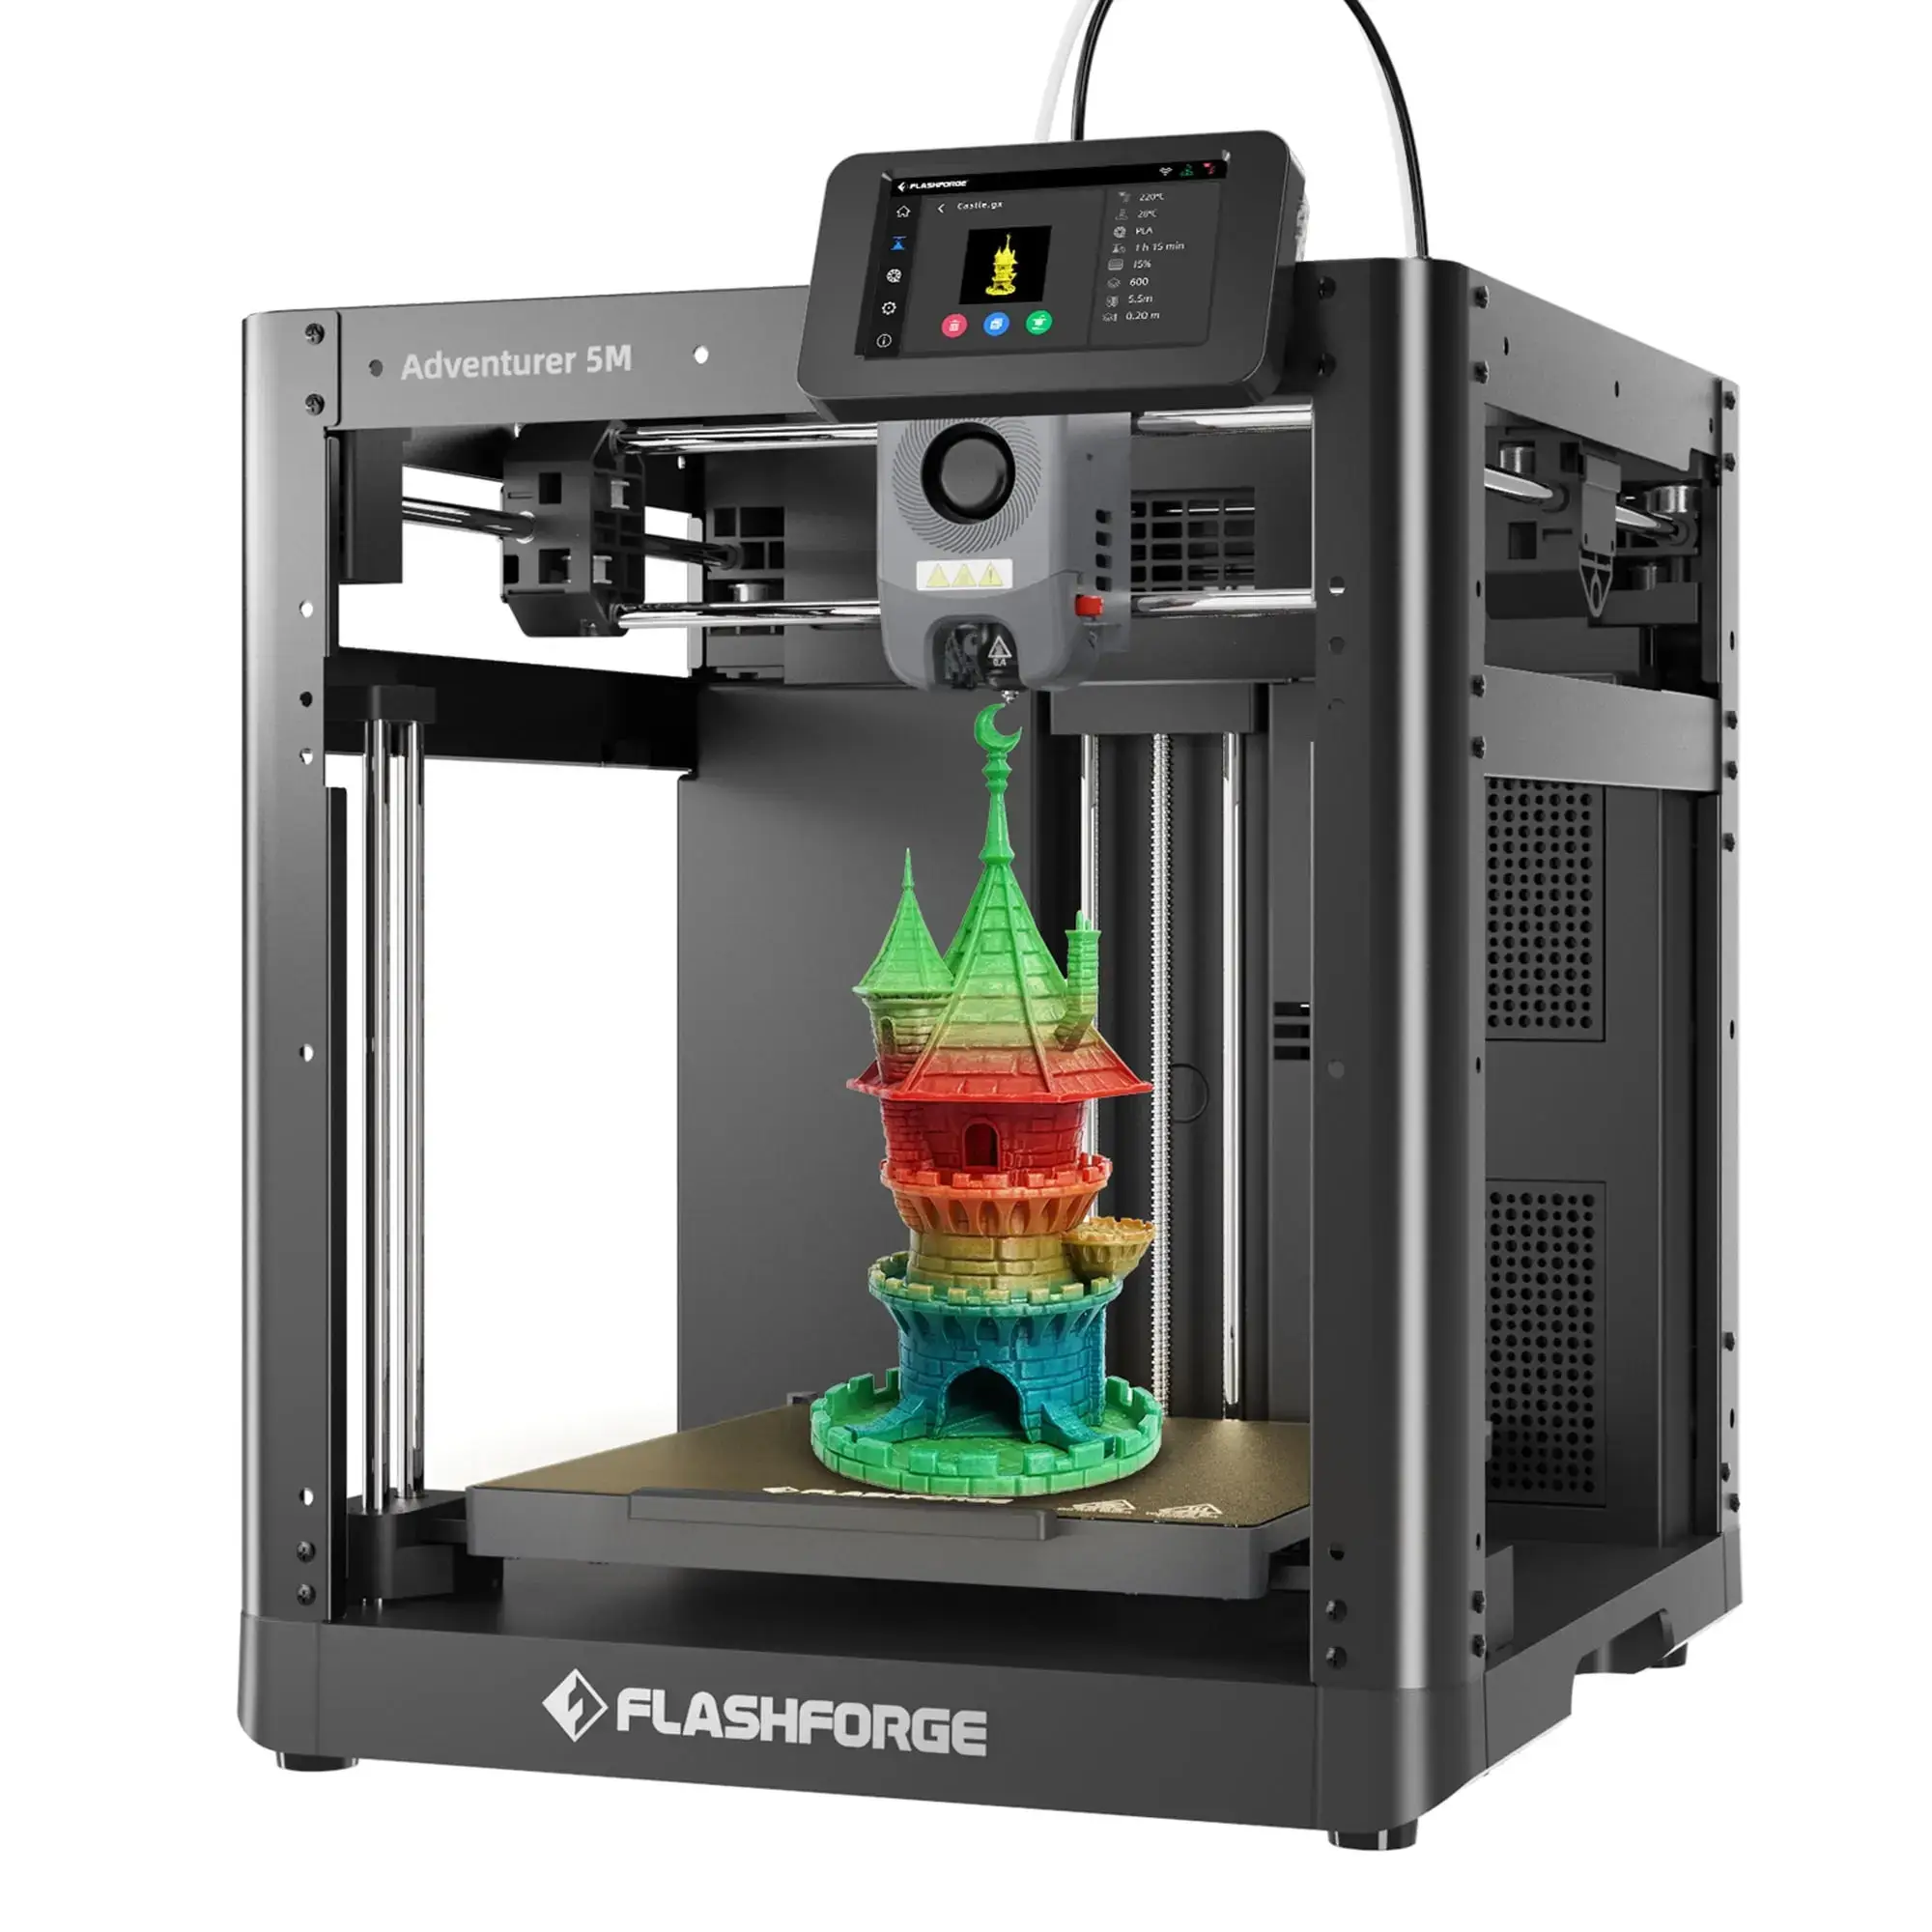
Flashforge Adventure 5m
$230-$260
The Flashforge Adventurer 5M is a fast, cubic format FDM printer with Klipper support and plug-and-play ease, ideal for beginners who want pro-level speed.
The Good
- Pew Tested. I bought one (with my own cash). I had to replace the firmware, but once installed the tuning and setup was a cakewalk.
- Core X-Y means faster printing.
- Unibody design means minimal setup out of the box.
- Klipper Support
- WiFi and Ethernet enabled
- Cube format means its very stable and accurate when printing.
The bad
- Default firmware is junk but there is a community maintained one that is much better.
- No onboard camera support and I could not figure out how to get one enabled.
- Noisy compared to other printers.
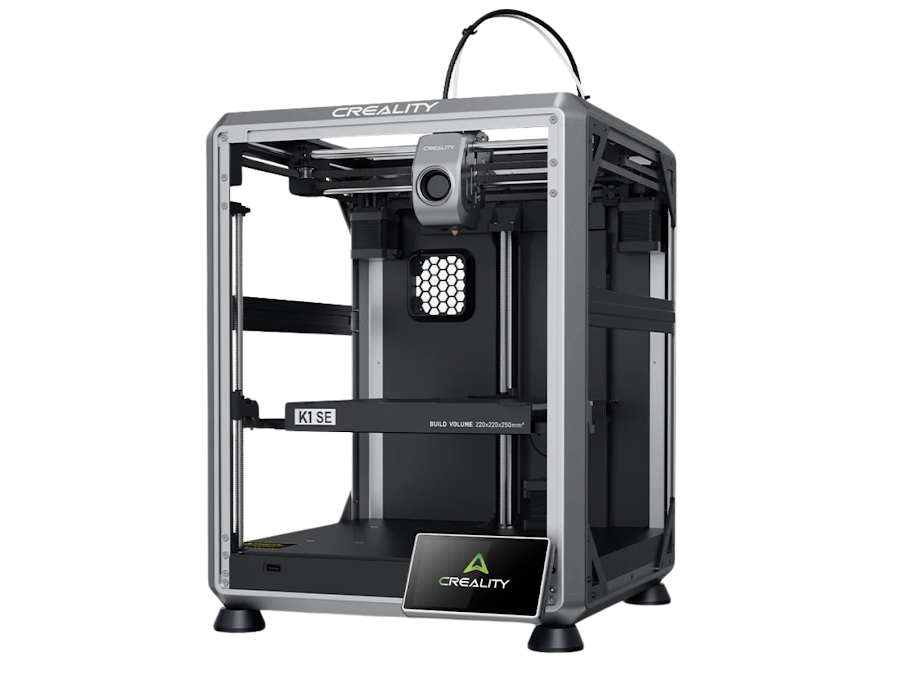
Creality K1 SE
$250-$280
The Creality K1 SE is an open‑frame CoreXY 3D printer, offering rapid print speeds, a reinforced aluminum frame, hands‑free auto‑leveling, and an upgraded extruder.
The Good
- Pew Tested. I bought one (with my own cash). Tuning it took quite a bit of poking and prodding. But once dialed in it produced flawless prints.
- Core X-Y means faster printing.
- Unbox, plug n play setup.
- Klipper based firmware
The bad
- The factory slicer profiles were pretty poorly optimized.
- The camera is an add-on. ($20)
$300-$1000
All of the previous units have been replaced by these cubic format printers. Its a massive improvement over the previous generation of “bed sligner” printers. The less mass you have to move around while printing the faster and more accurately you can print.
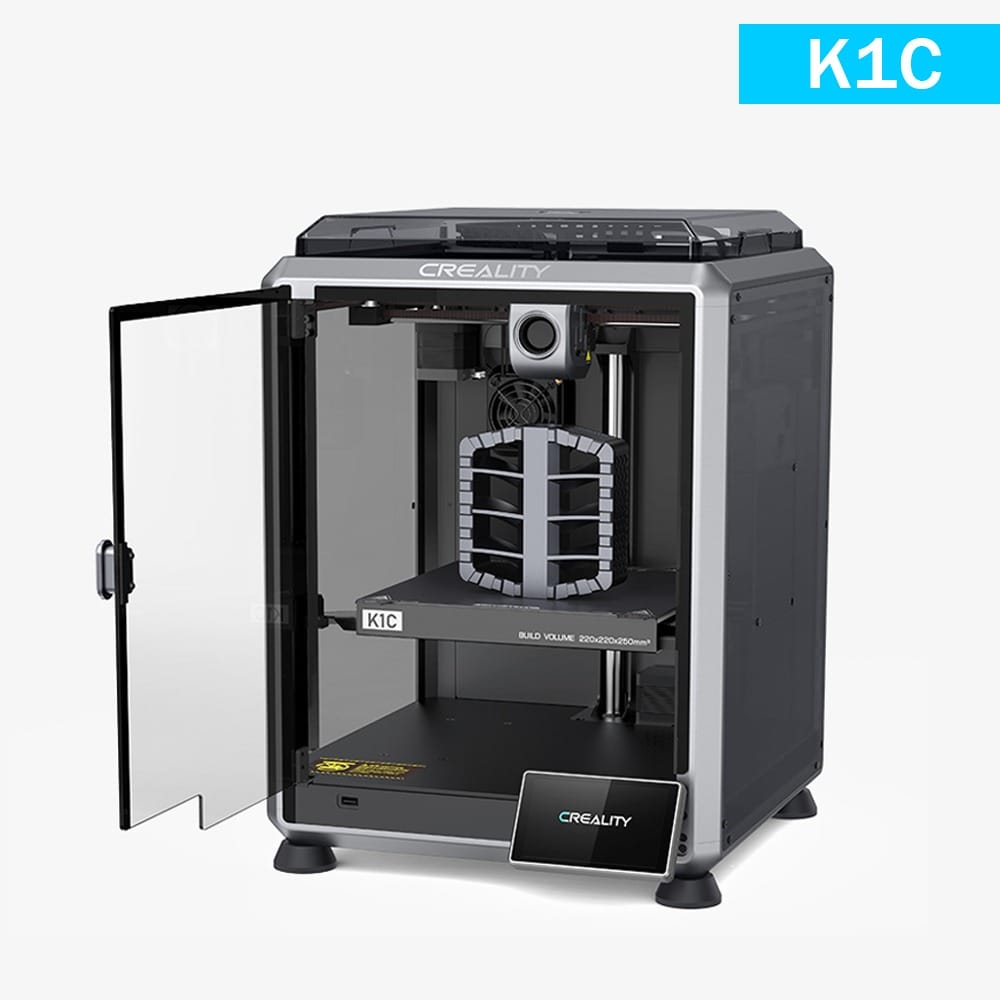
Creality K1C
$525-$575
A high-speed CoreXY printer with carbon fiber support and a hardened nozzle, built for reliable engineering-grade prints.
The Good
- Carbon fiber & abrasive filament support – comes with a hardened steel nozzle and direct drive setup
- Built-in AI camera – detects print failures and provides remote monitoring
- Speed-focused CoreXY with Klipper – up to 600mm/s print speeds with input shaping
- Tri-metal “Unicorn” nozzle – handles high-temp filaments with consistent extrusion
The bad
- Closed ecosystem quirks – limited modding flexibility compared to fully open-source printers
- Noise & fan whine – despite enclosure, users report noticeable operating noise at full speed
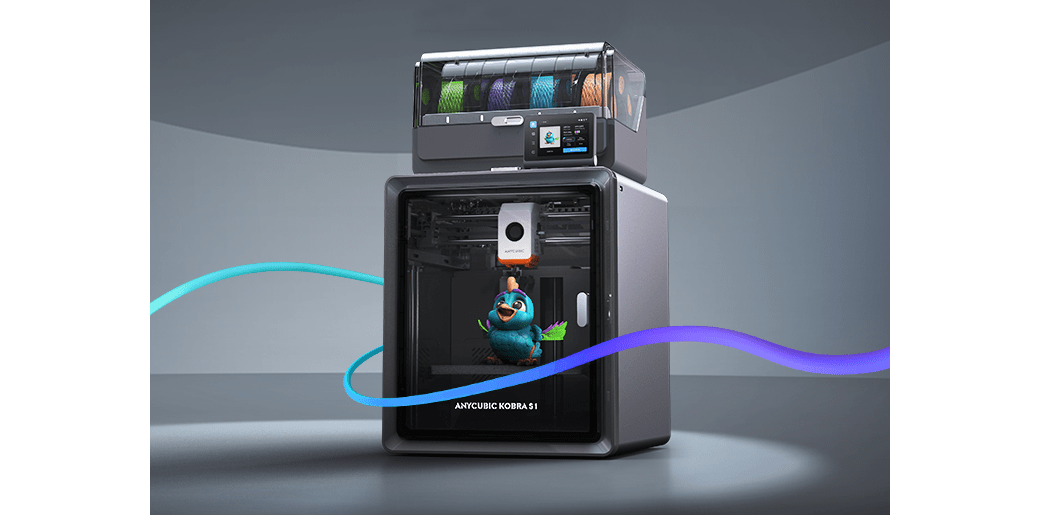
Anycubic Kobra S1 Combo
$600-$650
A versatile FDM printer with Klipper and multi-color capability out of the box, ideal for hobbyists who want speed and flair.
The Good
- Multi-color printing ready – includes a color mixing unit without needing AMS-like extras
- Klipper firmware with touchscreen – fast, responsive, and highly tunable
- Flexible PEI bed & auto bed leveling – easy print removal and consistent first layers
- Budget-friendly versatility – excellent value for users wanting premium features under $600
The bad
- Multicolor system is limited – not true multi-material; color changes only occur at layer swaps
- Occasional QA issues – inconsistent factory tuning may require user calibration out of the box
$1000+
If you are really serious about 3D printing…
Creality K2 Plus
$1,300-$1,500
The Creality K2 Plus is a fully enclosed, Core XY, large-format 3D printer (350 mm³ build volume) with a heated chamber and multi-color capability via up to 16-spool CFS, delivering fast, engineering-grade prints with high versatility and pro-level features
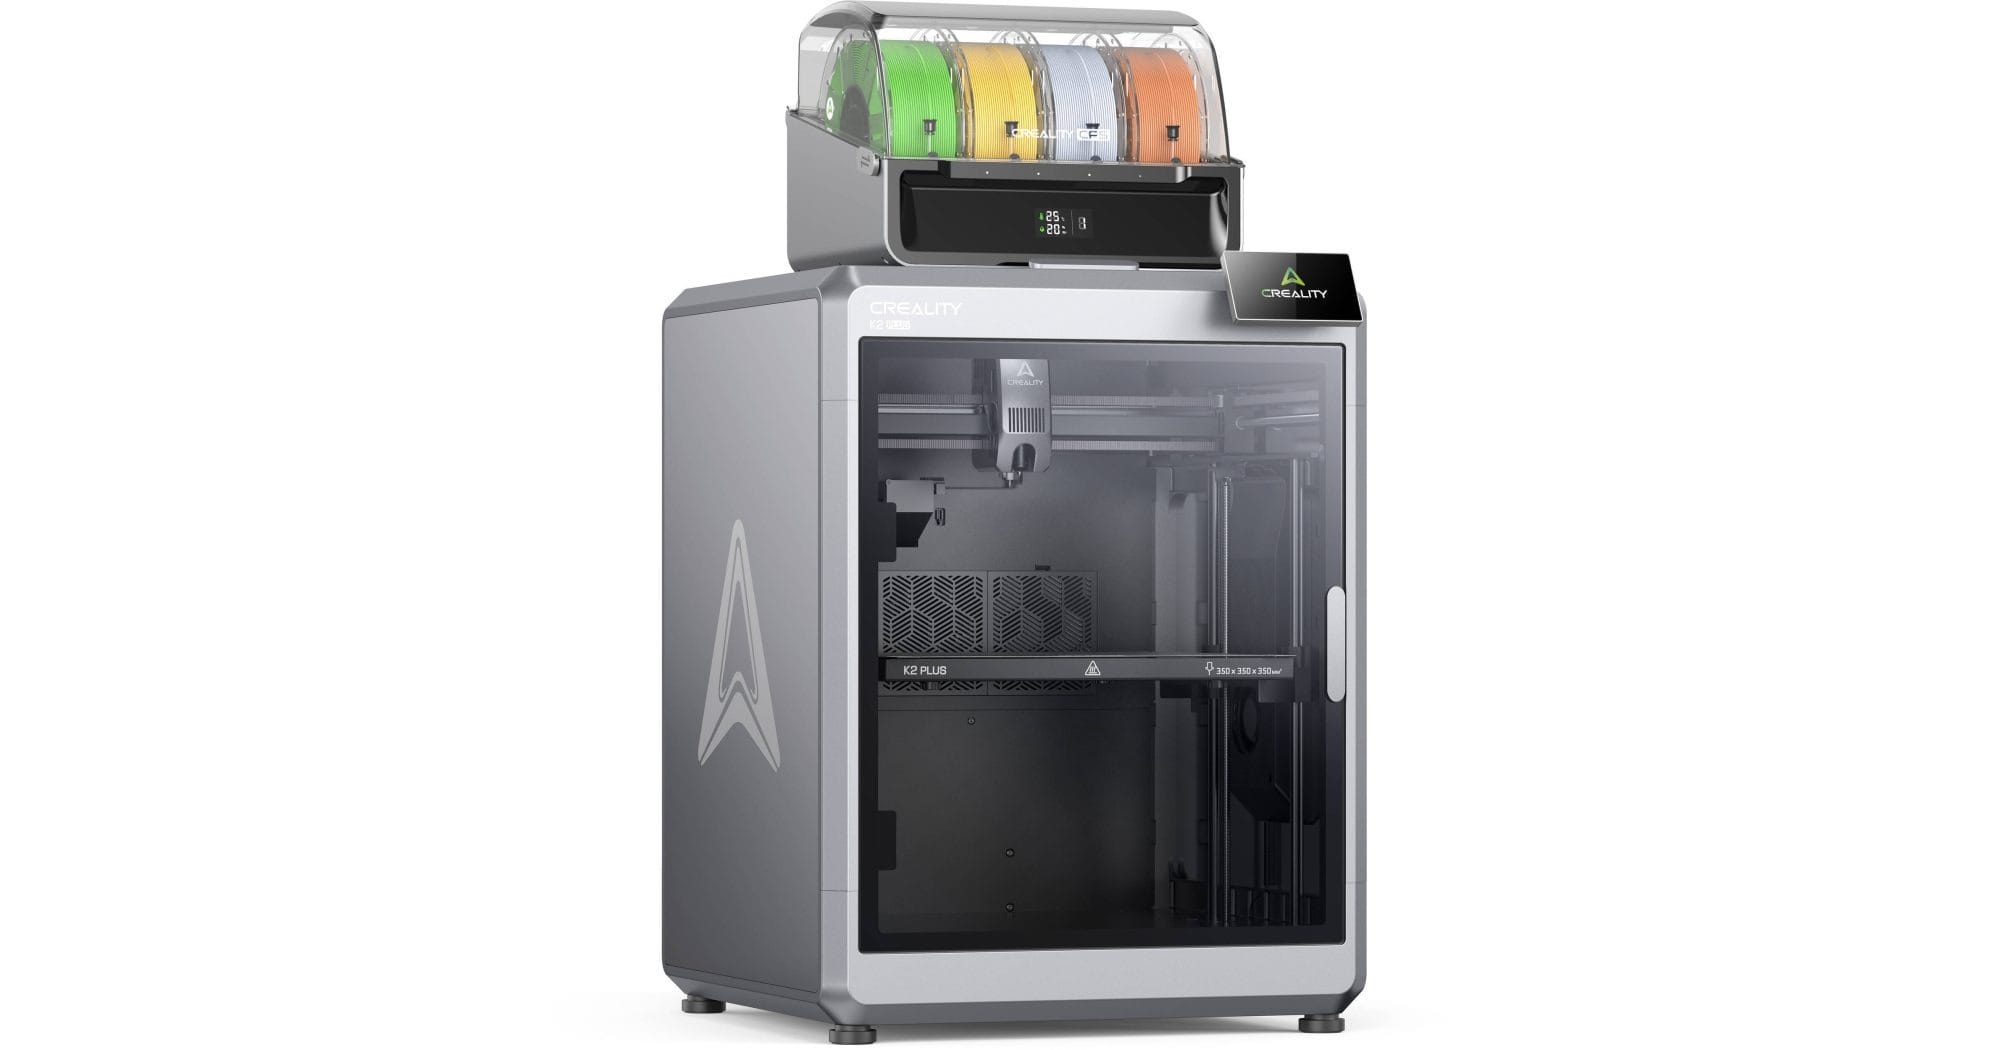
The Good
- Massive build volume (350×350×350 mm) – Ideal for large parts or batch printing.
- Heated enclosure & active chamber control – Enables high-temp materials like PC, PA, CF blends.
- 16-color auto filament switching (CFS) – True multi-color/multi-material support built-in.
- CoreXY + Klipper + input shaping – Delivers ultra-fast, high-quality prints with smooth motion.
The bad
- Filament handling issues – CFS system prone to jams and misfeeds.
- Long heat-up & noisy – Slow preheat and loud during fast prints, with wasteful color swaps.
Prusa XL
$2,000(Kit)-$4,000(Assembled)
The Original Prusa XL is a pro‑level Core XY powerhouse featuring a 360 × 360 × 360 mm build area, up to five quick‑swap tool heads for virtually zero‑waste multi‑material/color printing, automatic load‑cell first‑layer calibration, and industrial-grade precision and speed
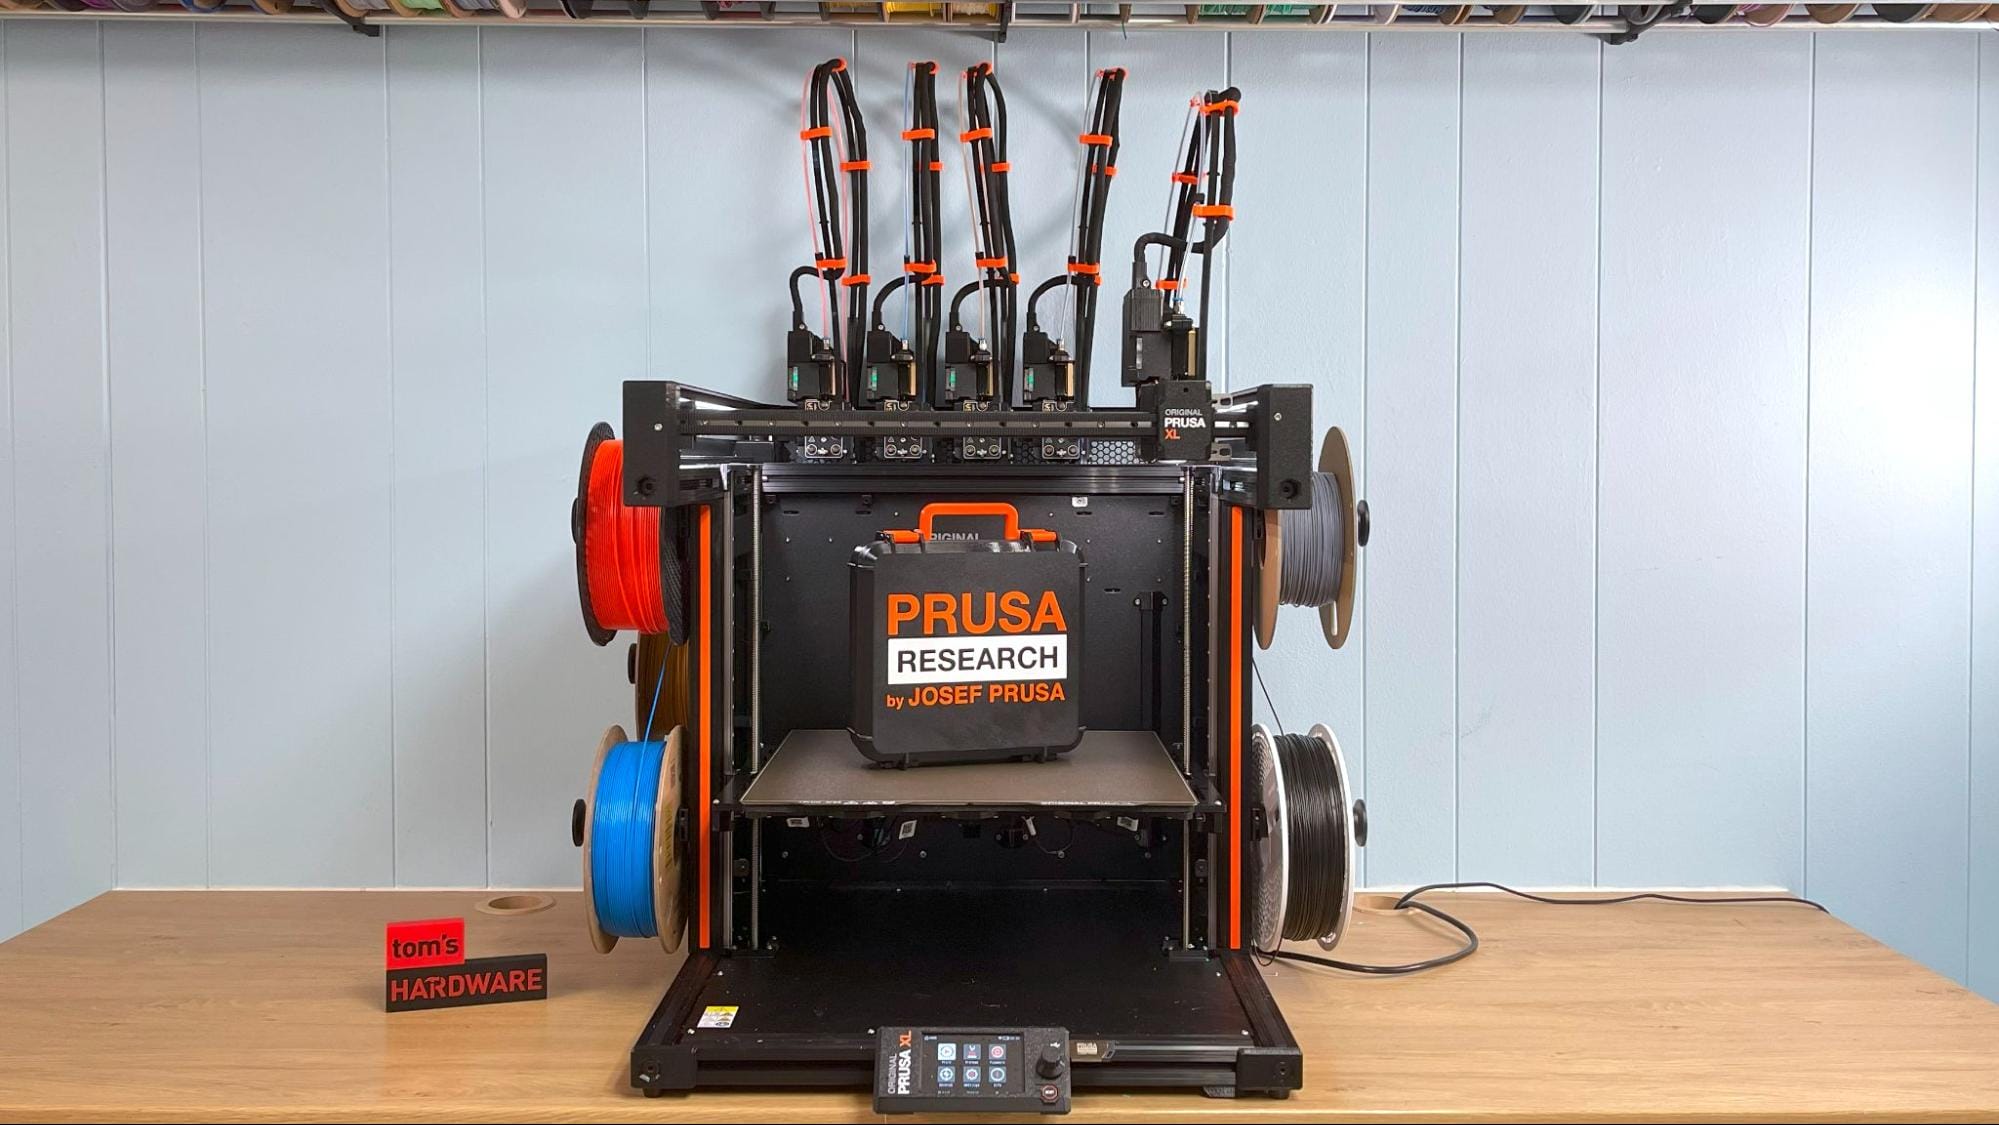
The Good
- Massive 360 mm³ build volume – Great for large prints, multi-part assemblies, and batch jobs.
- Modular toolhead system (up to 5) – True multi-material and multi-color printing with minimal waste.
- Load-cell bed leveling – No manual Z-offset; precise first layers every time.
- Industrial CoreXY design – Delivers high-speed, high-accuracy prints with excellent repeatability.
The bad
- Expensive and complex – High price and multi-tool setup can be overwhelming.
- Early reliability issues – Firmware bugs and mechanical quirks reported by some users.
Optional Upgrades
Some of the printers will come with these upgrades already. Pay attention to which one you get and find the appropriate module if necessary.
PEI Build Plates
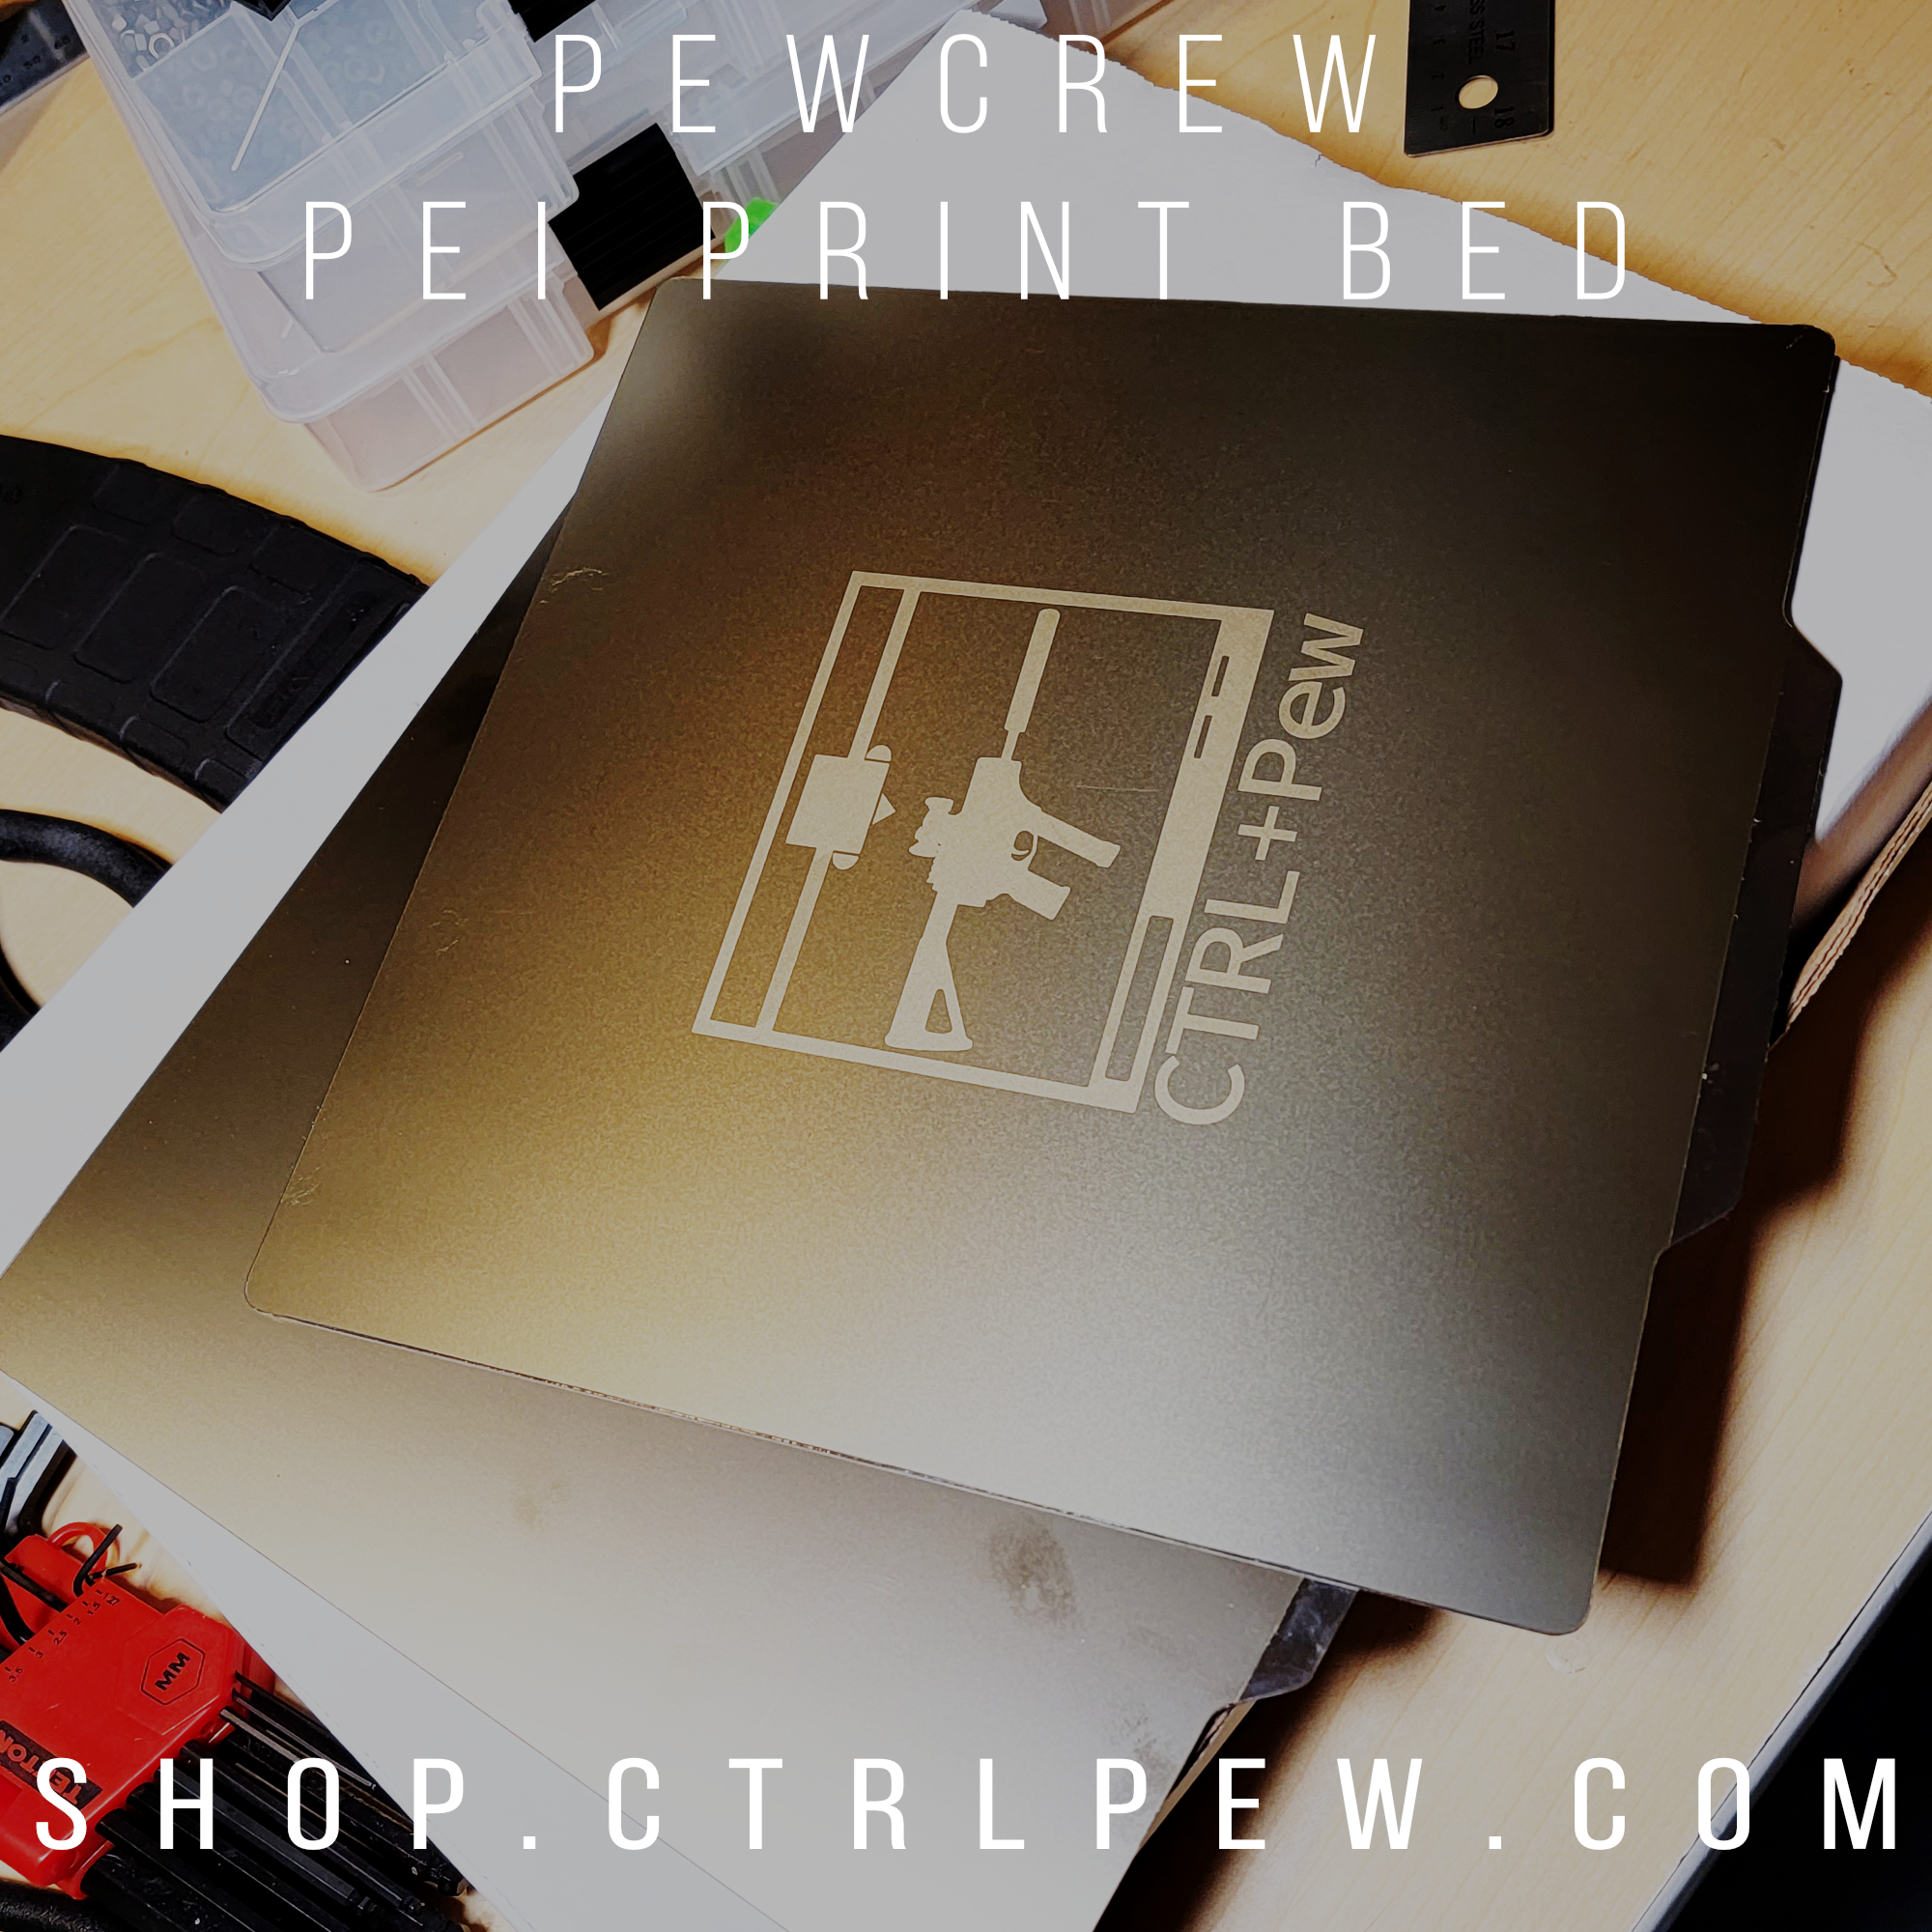
It’s hard to stick your print to your earlier print if your print doesn’t stick well. PLA Pro and PEI print surfaces were meant to go together.
When hot the stick parts reliably. When cool the parts release easily and most are magnetically attached to the print bed so you can remove them from the printer before removing your parts to avoid straining the print bed. Keeping it level longer.
I make my own for the Ender 3 and similarly sized printers, should you want to support us here at CTRLPew. Otherwise, there is a broad variety of other sizes available on Amazon. It’s hard to go wrong.
Recommended Tools
- Small gunsmithing hammer – Best for driving in pins or using punches to knock support material out of pesky screw holes in your models.
- Feeler Gauges – A great and much more precise tool for leveling your bed.
- Food dehydrator – Plastic Filament absorbs moisture from the air. If you have a spool that prints badly it might be due to moisture. A dehydrator is an optimal tool for fixing this.
- Calipers – Measuring is important. Check the parts you make and use the data to calibrate your printer.
- Angle Finder – Measuring the angle between 2 faces is an important thing. Square is a hard shape to make sometimes.
- Needle files – Useful for cleaning up inside tight spaces
- Metric Drill Bits – Most of guncad is done in metric units. You will encounter metric holes.
- Imperial Drill Bits – Holes need drillin.
- Allen keys – Because hex head screws are better.
- Roll pin starter punches – Roll pins suck. Having the right tools helps.
- Roll pin punch – See above.
- Standard Punch – Pins need punching.
- Chisels – Good for smoothing flat surfaces and clearing stubborn support material.
- Pliers – Grip, rip, and tear support material.
- Shooting glasses – for when you cleanup prints. Plastic poots at eyeballs.
- Really good soldering iron – Great for smoothing surfaces and required for some builds.
Which Filaments are the Best?
If your printer is a hammer, filament is the nail. There are many different materials available for you to print with but the key considerations for beginning are filament cost, availability, and ease-of-use. That last point is important. A new printer, excited about the possibilities will run to a forum and ask what the strongest material is. The answer is some kind of nylon. However, nylon filament is expensive and difficult to print with. So a new printer starting on that without knowing anything about the printing process will struggle forever and most likely give up before producing anything. As a general rule. The more durable the material the more difficult it will be to print with. That being said, we do not recommend starting your printing adventure with anything nylon or carbon fiber. After delving the depths of the darkest web we have returned with a few suggestions for starting materials and brands.
Both PLA Plus/+ and PLA Pro are more durable than their base PLA material and have withstood the collective abuse of hundreds of thousands of rounds from the 3D printing firearm community. All this while still being easy to use and learn with. Perfect for a beginner printer and there are many colors and finishes to choose from. They two
PLA + / PRO
Suitable for most prints this material is easy to work with and durable enough for structural printing. It has been the standard material for firearm printing for the last few years, and its durability has been well-tested. It’s also relatively cheap at about $22-$24 per spool. There are other more durable materials but they also come with a higher cost and tougher requirements on both your skill as a printer and the equipment you use. For a beginner, it’s not recommended.
Pew’s Pick
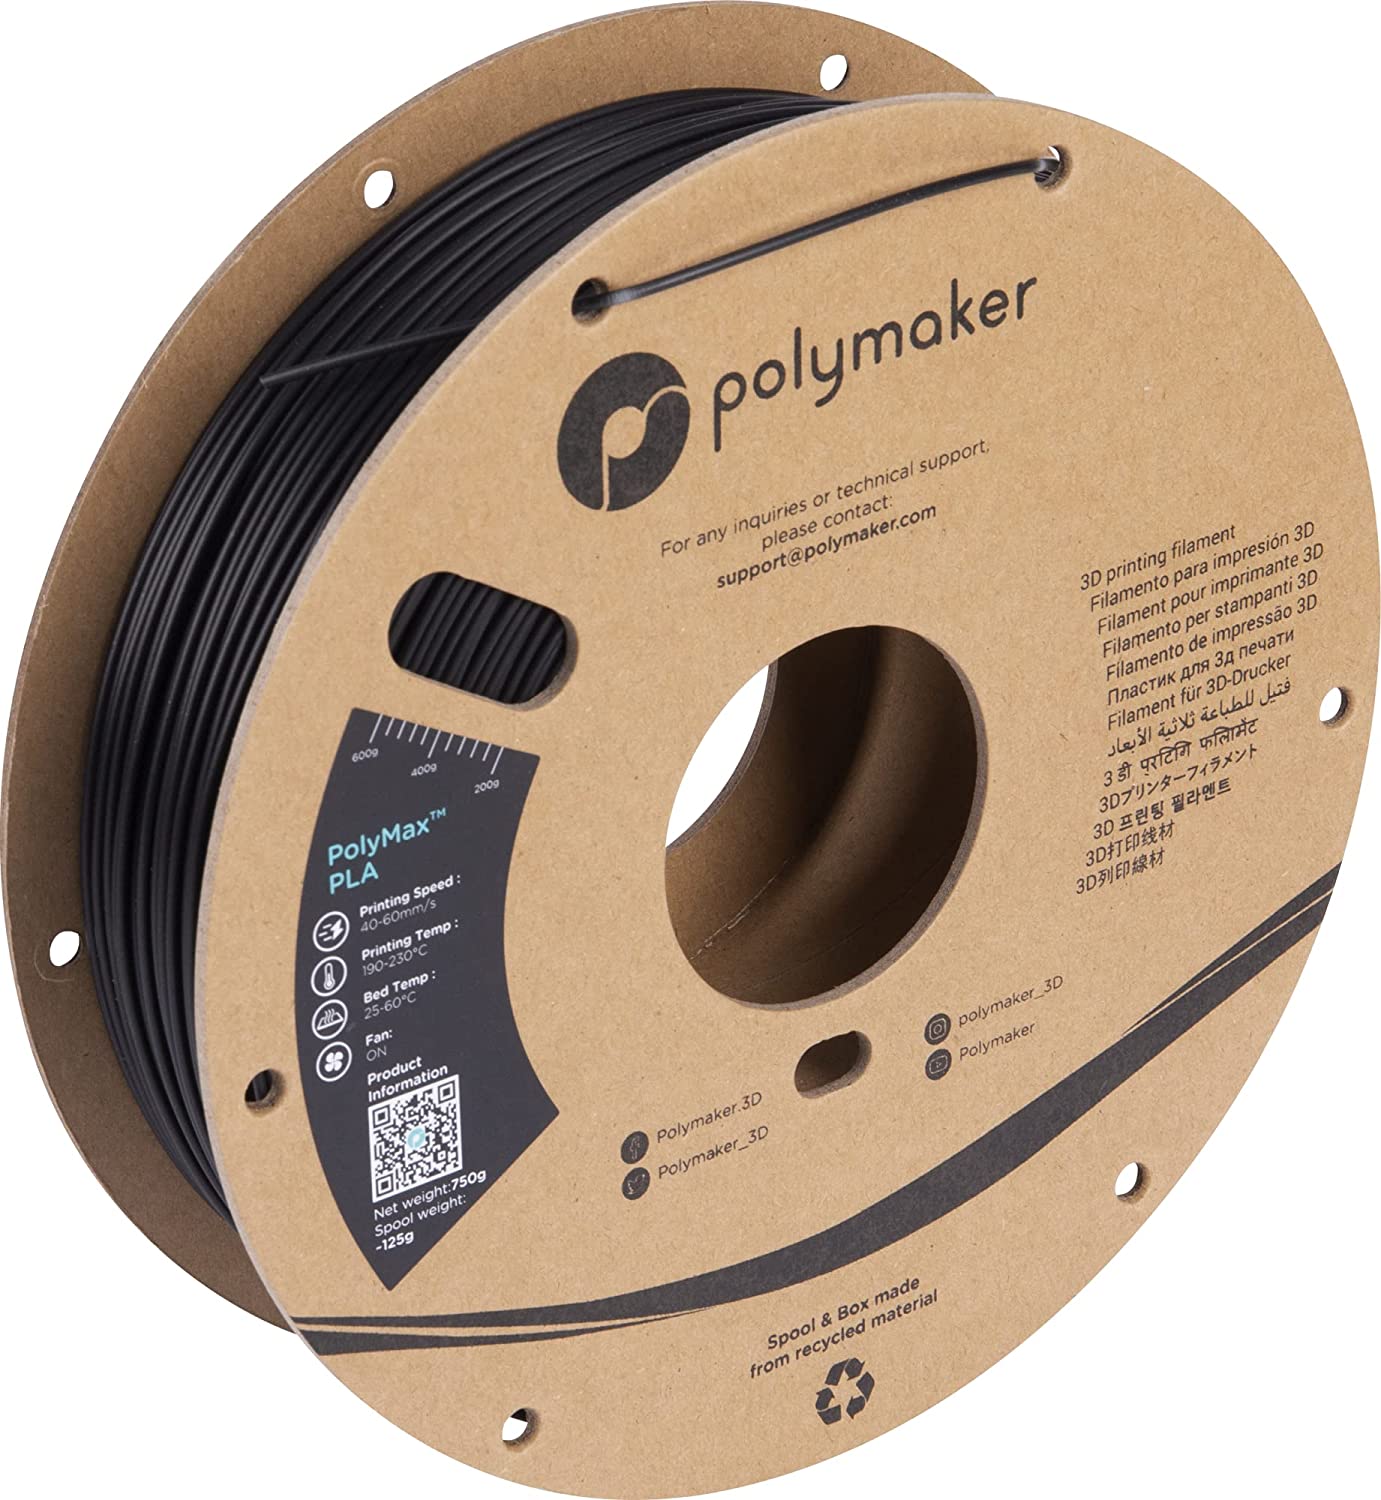
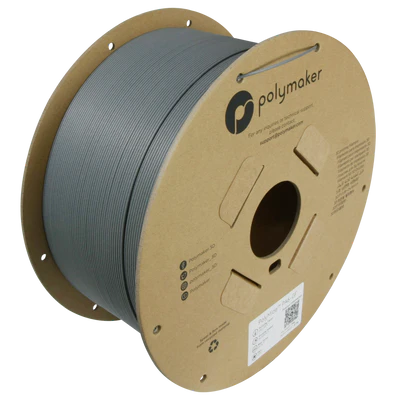
Polymaker PolyMax/Tough PLA
Polymaker PolyMax has demonstrated an exceptionally high level of performance for this material and excellent finish quality and quality control. This is my material of choice for finishing a print to show off. These are commonly half-sized spools for $24 but for me, the finish quality alone is enough to justify the extra cost.
Purchase Links
Runner Up
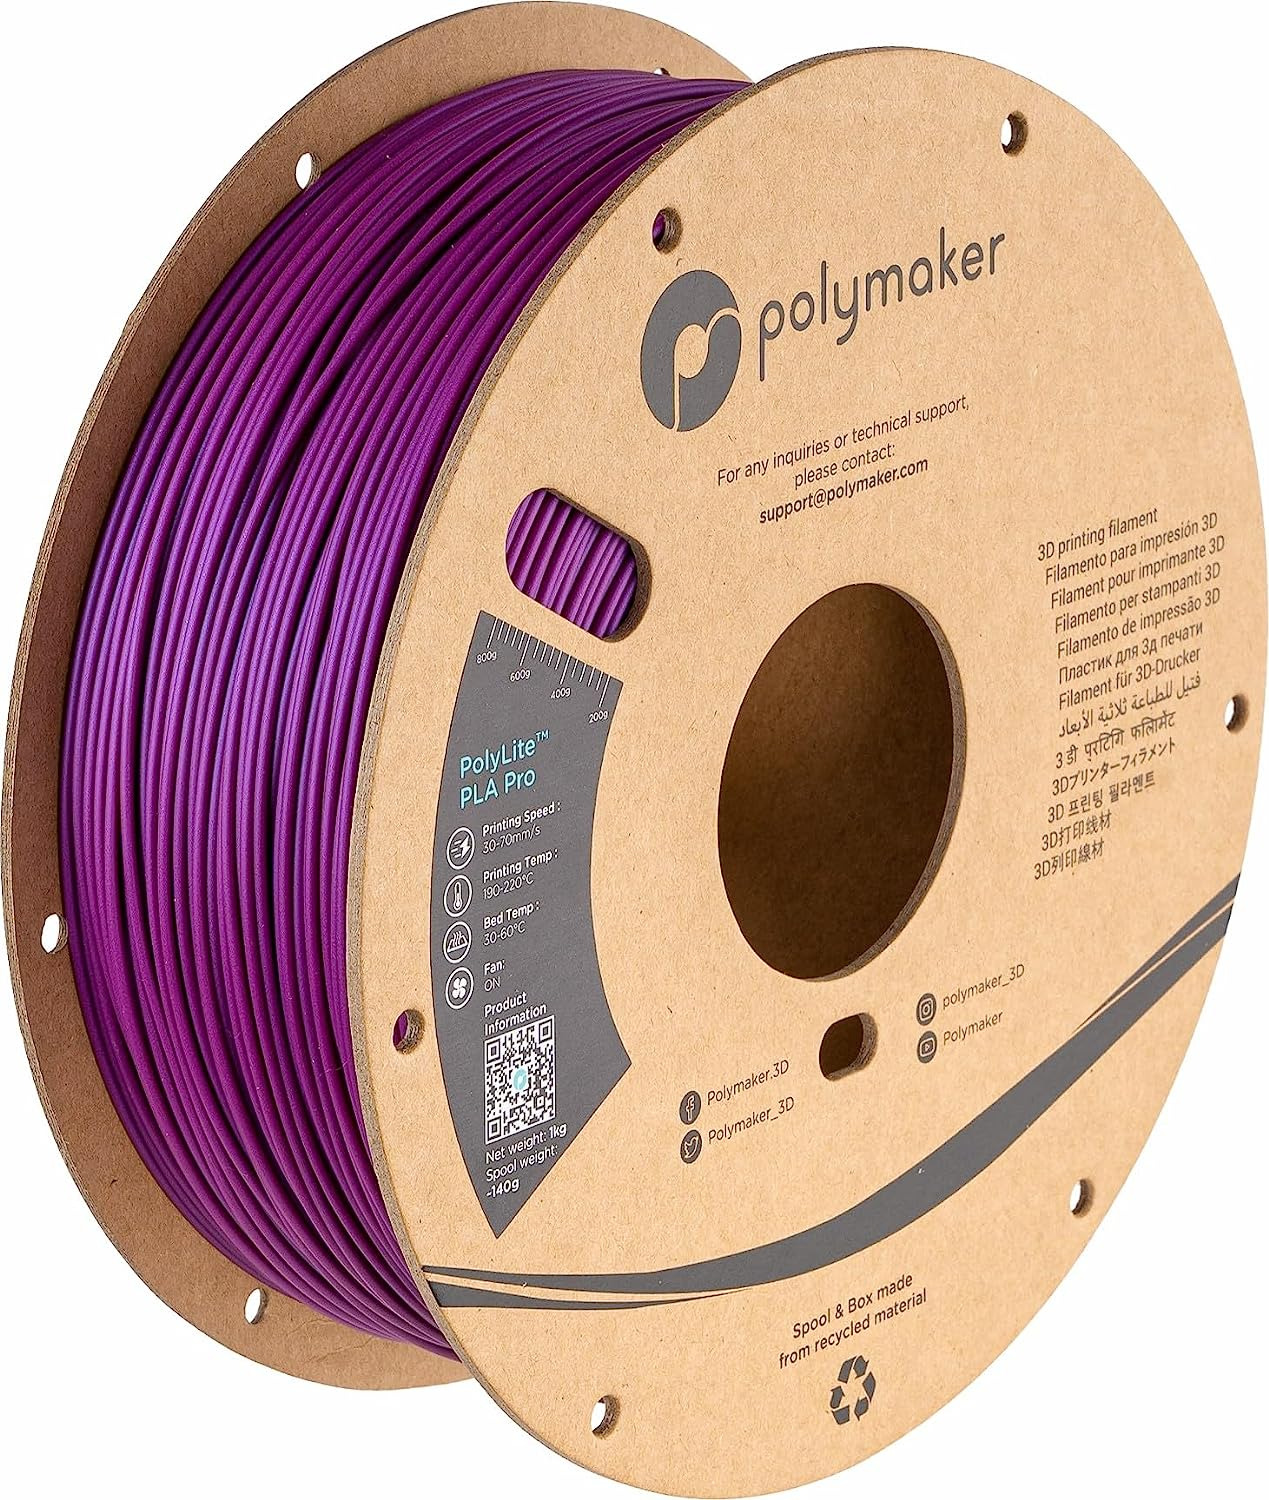
Polymaker PLA+
Polymaker’s PLA Professional(+) is a nice utility filament for every day and prototype printing. It was difficult to choose between this and the 3rd place Oveture filament. The deciding factor is Polymaker’s involvement and willingness to interact with the 3d printing firearm community.
Purchase Links
Just as Good
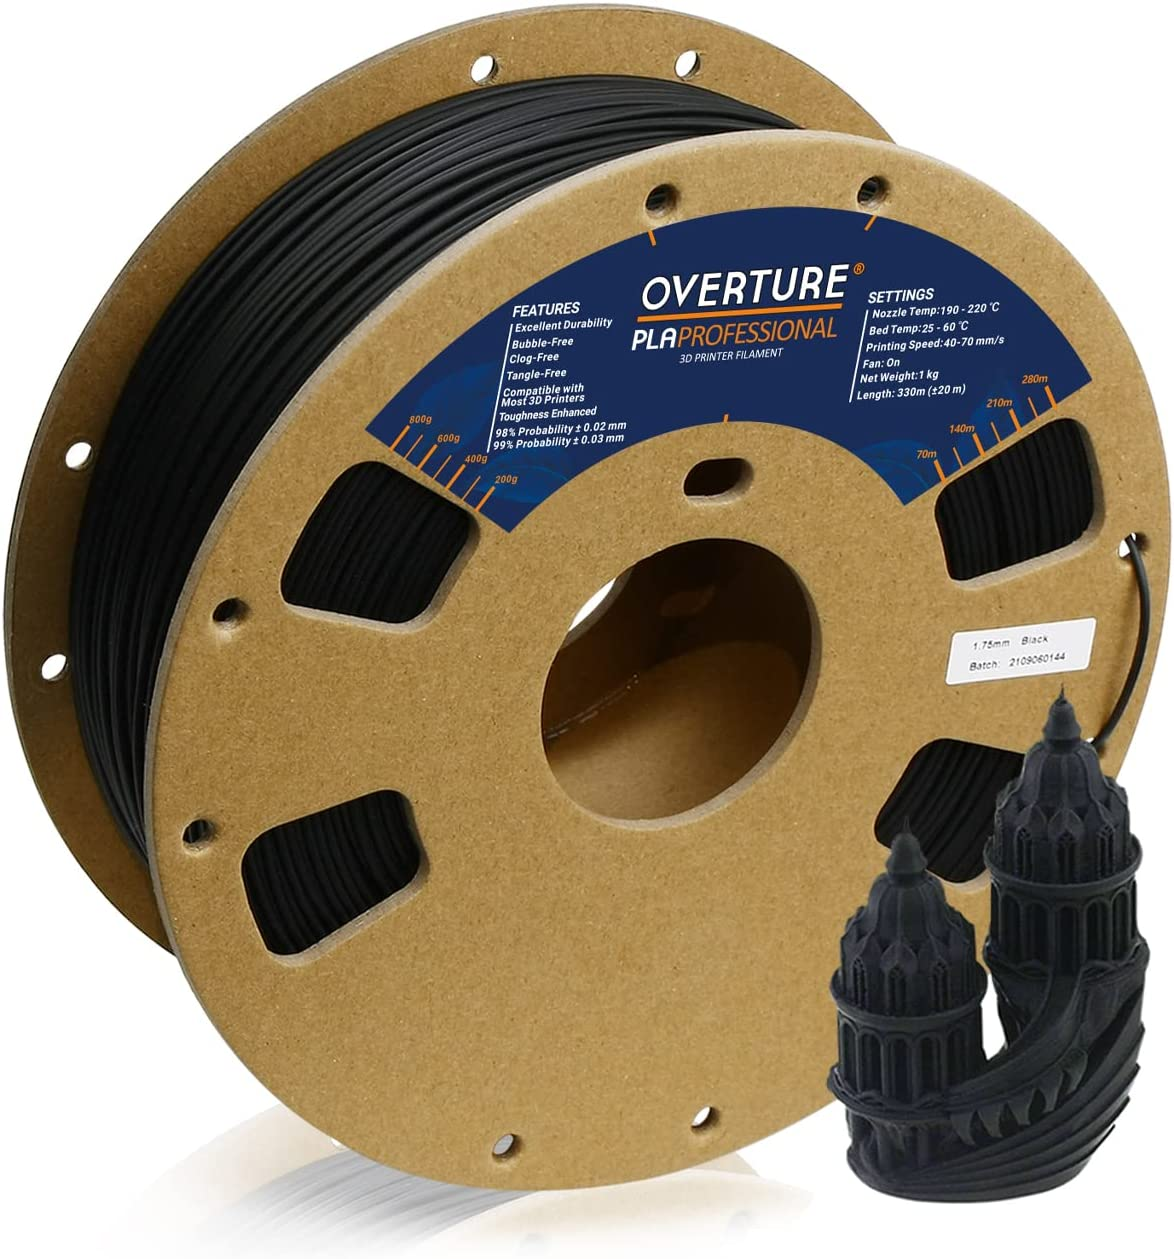
Overture PLA (+/Plus/Pro)
Overture is Amazon’s house brand of filament. It has performed very well and consistently in testing and is frequently on sale on Amazon. It’s my go-to for everyday prints and design test prints.
Purchase Links
Nylon
For the advanced printbois and printers. Nylon is a pain to work with properly. It readily absorbs moisture from the air. It must be properly dried before printing. Its high process temperature means you must have an advanced printer or upgrade your machine to be capable of a 90c bed and 265c nozzle. It will be a trial to achieve. For those that manage well it you will have parts durable enough to EDC on the regular.
Pew’s Pick
Polymaker PolyMide COPA
Avaliable in white and black the Polymaker COPA is one of the easiest nylon filaments I have worked with. This requires less specialized handling and is less concerned with moisture leading to a lower probability of print failure for these reasons. 100% a getting started in nylon material.
Purchase Links
Runner Up
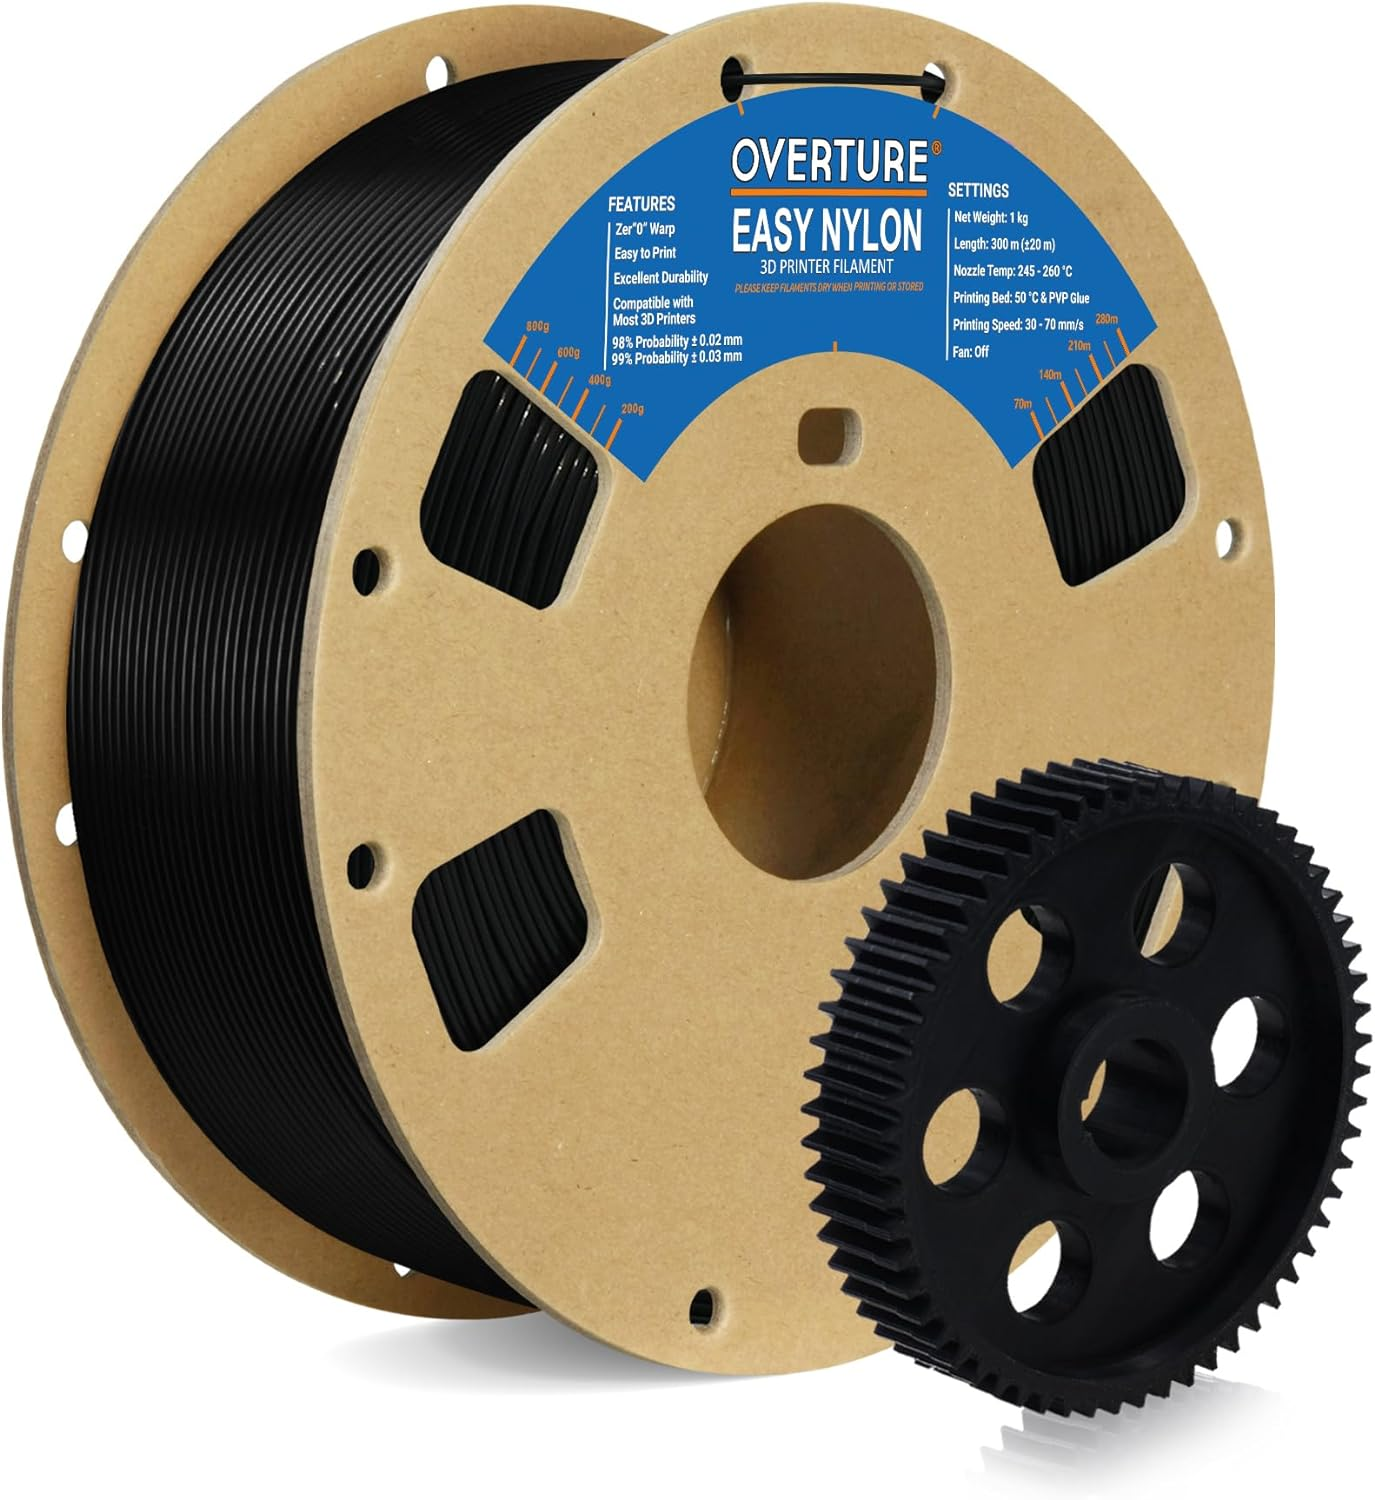
Overture Nylon Filament
Overture has been a standard utility filament for us here for ages. Its consistent and cheap even if it isn’t the prettiest.
Purchase Links
Just as Good
Polymaker PolyMide PA6-GF
Once you get the feel for the COPA and get started in nylon this PA6 GF should be next in line. Glass is superior to carbon fiber. FYI.
Purchase Links
Software Recommendations

Cura – The standard
It was first, free, and open source. All good things. Its a good start and most printers have profiles built for this already. Although its a little dated now.
Download from Ultimaker
Prusa Slicer – Well Tested & Loved
Another open-source favorite slicer of the community is Prusa Slicer. This software is a little more refined and has some treats inside for the advanced gun printer.
Download from Prusa3D


Orca Slicer – New Hotness
Taking queues from Bambu’s proprietary slicer, Orca Slicer, is a fresh, heavily featured, open source alternative. It will take a little bit of learning to use, especially if you havent used the Bambu slicer, but once you start you wont look back.
Download from Github
Slicer Settings
A quick and dirty of the default settings for your slicer software. This is a broad suggestion for default settings. Use the settings from the readme file in the download or from your own printer tuning experience. Lacking either of those default to these here.
- Layer Height – 0.2mm. Your printer likely comes with a 0.4mm nozzle and the maximum layer height we would recommend is half of that.
- Walls – Minimum 8. Walls add rigidity to your frame along all the major contact surfaces that experience load when firing.
- Infiill – 100%. Some “Engineers” will tell you that 89% is just as good. It isn’t. Squish matters. Fill it up.
- Top/Bottom Layers – Minimum 8. Same reason as walls.
- Generate support – yes
- Support – Everywhere. Its hard to squirt plastic floating in the air.
- Support Overhang – 45 degrees.
- Build Plate Adhesion Type – Personal preference – Brim. Does really well sticking parts down with some extra material around the base of the parts.
Where are the Files?

The Gatalog sets the standard for releases with community-run beta tests and proofed build documentation before public release. It’s hard to do a Gatalog build wrong. For that reason, they are the only releases I will cover on this site in any detail.
Other files can be found on Odysee and various other sites across the internet. Don’t trust anyone who demands you pay for the files. The money probably isn’t going to the developer and the files probably don’t work.
As I stated previously The Gatalog is the only group currently with robust testing and documentation standards before a public release.
Just say no FEDCAD. And their affiliated sites, Legio, Defense Distributed, ghostgunner.net, and ghostguns.com.
Where do I get the Parts Kits?

MAF Corporation
Use the code ‘ctrlpew’ and save 10%.
My favorite place to get parts kits has got to be MAF Corp. These folks sell wind chime kits made from firearm parts. Unlike other gun-art companies, they dont tamper with the parts so they could still be used in actual building. Dont forget to check out their fastener kits!
Palmetto State Armory
While they dont carry parts for the less common builds, the PSA Dagger is incredibly compatible with a Gen 3 Glock and the DD series printable frames. Combine this with the rail kits from MAF and you’re off to the races.

Additional reading:
- Save time. Start quick – Getting Started Guide 0 – How to Start 3D Printing Quickly
- If you’re still waffling on what printer to get – Getting Started Guide 1 – 3D Printer Shopping Guide.
- Choose your slicer – Getting Started Guide 2 – 2024 Slicer Showdown
- Now you need filament. Get good ones. – Getting Started 3 – Filament deathmatch
- Tune up your printer – Getting Started Guide 4 – How to Setup and Tune Your 3D Printer

")

Leave a Reply
You must be logged in to post a comment.