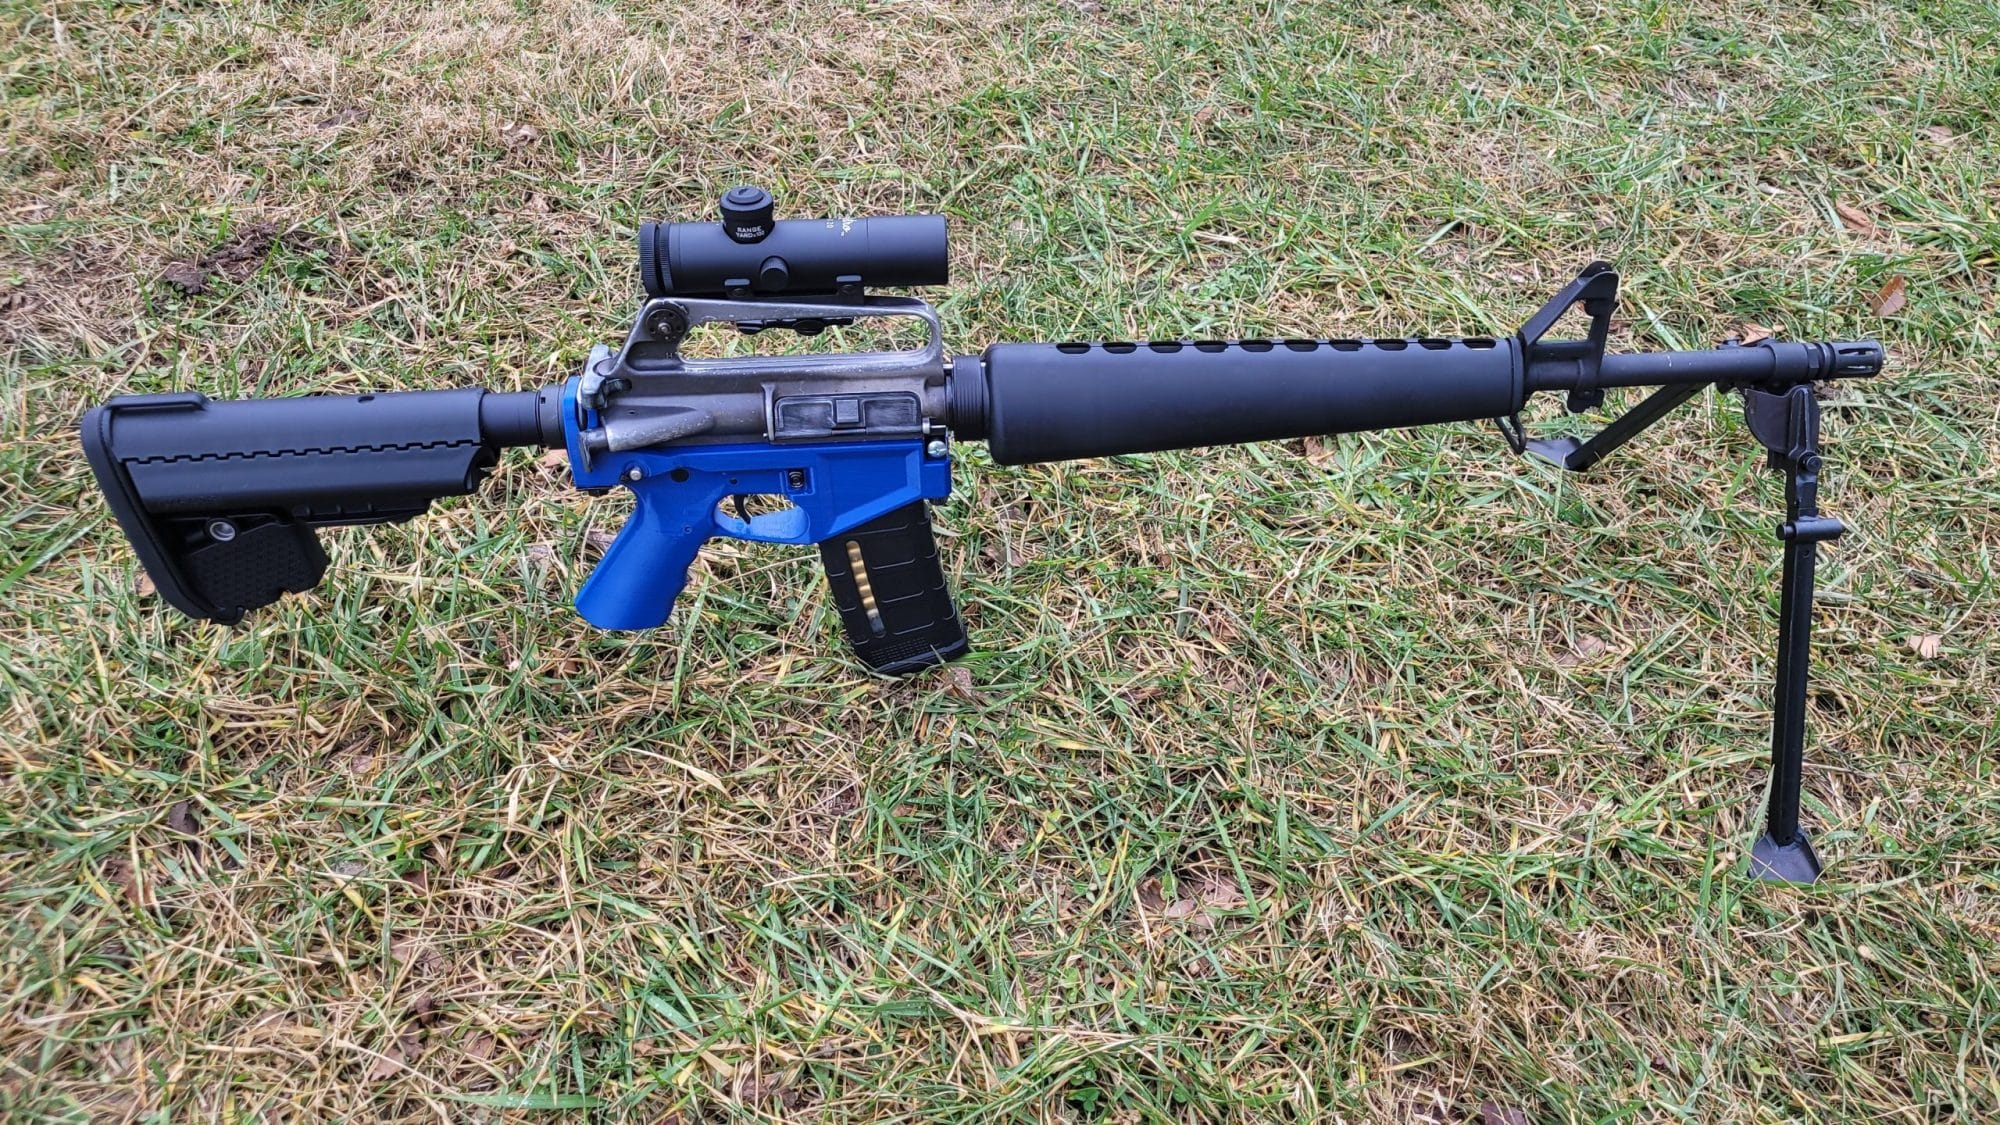
The UBAR3 / UBARX
Developer:
Caliber:
Type:
Platform:
Date Published:
Difficulty
/ 10
Pew’s Summary
Project Documentation
Build Guides
More From this dude
About This dude
Build Guides and Tutorials
More from this dev
Coming Soon
The UBAR3/X is a 3D printable AR15 lower receiver. It represents nearly a decade of testing and development of 3D printed AR15 lowers.
At the core of the UBAR's design is it's simple reinforcements –
Using a U-Bolt to reinforce the rear tower and rod end eye bolts to reinforce the front takedown lug, the UBAR is a contender for the strongest printable AR15 lower design at time of publication.
Printed Parts Checklist:
See the build tutorial for a breakdown on which variant to print.
Hardware Checklist:
Refer to the "Shopping List" section of the build tutorial pdf.
General Print Settings:
This receiver has been tested to work well in eSun PLA+. In any material similar or superior to PLA+, this receiver should work as well.
**Note that all STL files are oriented and scaled properly, and changing their scale or orientation may result in your parts not fitting/working properly.**
**Note that you should follow these print settings in order to get the best possible results – changing nozzle size or layer height may cause you to have to hand fit things!**
My print settings for PLA+ were as follows:
Walls: I used 8, but you're free to use whatever works best for your setup.
Nozzle: 0.4mm
Layer Height: 0.15mm or 0.16mm
Temp: 230/60C
Infill: 100% Recommended – while the UBAR might not need 100% fill, this ensures that you won't end up hurting the lower if you overtighten anything.
Supports: On/full (tree supports are ok)
Cooling fan: 20% normal, 50% on bridges. Off for the first 10 layers. Keep the fan speed low to prevent warp.
Bed Adhesion: gluestick or hairspray recommended
All other settings can/should be left as default or whatever you know works best with your printing setup.
NO IMAGES, INSTRUCTIONS, DOCUMENTS, NOR ANY AOTHER FILES LICENSED FOR COMMERICAL USE, SUBSCRIPTION DOWNLOAD, OR ANY PAID DISTRIBUTION WHATSOEVER.
COPYRIGHT 2025.
Comments
Subscribe
We are consistently silenced by social media outlets and misrepresented in the press. Get the whole story, stay in touch with us, and stay up to
Post Categories
- Announcment (89)
- Bounty (9)
- Closed Bounty (1)
- Open Bounty (8)
- Developers (20)
- File Drops (179)
- Accessories (29)
- Comical Creations (2)
- Guides (3)
- Hybrid (10)
- Magazine (13)
- Primarilly Printed (9)
- Printable Frames (106)
- Suppressor (8)
- Files by Type (12)
- The Blog (113)
- Betas (55)
- In Beta (55)
- CTRLPew (9)
- Guides and Tutorials (22)
- News (29)
- YZY_Prints (1)
- Betas (55)
- Uncategorized (4)


Leave a Reply
You must be logged in to post a comment.